This week I tried the recipe "Not Your Everyday Smoked Pork Spare Ribs" posted by user Tanlor on Allrecipes.com. My version of the recipe is listed below, with 2 different preparation methods. The first method utilizes both the oven and a grill/smoker. The second method utilizes the oven & a grill, but a stovetop grill pan could be substituted for those who do not have grill access. I had to make some minor ingredient changes (details below), & I altered the cooking methods to fit our time schedule since these were cooked on workdays. We didn’t have 5 hours to sit around & watch the grill/smoker do its magic from start to finish, unless we wanted to eat dinner at 11:00pm. As an additional note, this recipe makes MORE than enough for 1 rack of ribs. If I was prepping this all at once for cooking only 1 rack of ribs, I would probably cut this recipe in half. There are pictures for the 2nd method of cooking, but I neglected to take pictures Monday night for the first method.
Ingredients
 |
| Dry Rub Ingredient Lineup |
- ½ cup packed brown sugar
- 2 T chili powder*
- 1 T paprika**
- 1 T ground black pepper
- 2 T garlic powder
- 2 t onion powder
- 2 t kosher salt
- 2 t ground cumin
- 1 t ground cinnamon***
1. In a small mixing bowl assemble all ingredients. Set aside.
*We don’t buy chili powder (& we rarely buy any manufactured spice blends…that's just an unnecessary trip to "Salt Lick City" & the spices are rarely fresh). Normally I make it in small batches as needed, & put the extra in a recycled spice jar in the pantry. We happened to be out of homemade chili powder at the point this recipe was assembled by my awesome husband…so the recipe was improvised with some extra cumin, paprika, garlic salt & added cayenne pepper to equal 2 T…still tasted pretty darn tasty. :-) )
** For the paprika—if you are going to be smoking the ribs, use a standard sweet paprika. If you are not going to be smoking the ribs, use a smoked sweet or hot paprika if you have that available in your pantry.
***If you’re a nut like me who has MULTIPLE versions of cinnamon in their pantry, I prefer a milder, sweeter cinnamon in these types of recipes…like China Tung Hing .)
 |
| Assembled Dry Rub |
“Mop Sauce”
 |
| Mop Sauce ingredient lineup |
- 1 c apple cider*
- ¾ c apple cider vinegar
- 1 T onion powder
- 1 T garlic powder
- 2 T lemon juice
- 3 T hot sauce (Louisiana)
1. In a small mixing bowl or liquid measuring cup, whisk all ingredients together. Set aside.
*Instead of cider, I used Knudson organic apple juice, which has a large amount of apple solids & tastes more like cider than juices like Motts. It's my favorite apple juice/apple cider to cook with.
 |
| Some leftover mop sauce |
- (optional) 2 cups wood chips soaked in water, i.e. Applewood, & the ability to cook with them
Cooking method #1
Oven roasting ½ rack of ribs & finished by low-temp, indirect heating & smoking on the grill
Approximate cook time: 1-1.5 hours in the oven, 3-4 hours on the grill, Total of 4-5.5 hours. (This would be better prepared on a weekend in retrospect…than the 9:00pm dinner we had on Monday)
1. Preheat your oven to somewhere in the range of 325-375. Honestly, the temperature doesn’t matter that much for this recipe (I think my Hubs chose 360 at random since he started the prep work on this one for me since I was still stuck in commuting traffic). If you need a definitive statement for what to set your oven at, go with 350 degrees.
2. Line a large, rimmed cookie sheet or glass baking pan with a couple of large pieces of foil to wrap your ribs in. I prefer to line up 2 long pieces of foil along their lengths & crease them together to help keep juices in. You will want a pan that has a lip/rim on it in case your foil packet leaks.
4. Seal the ribs tightly in foil, adding an additional outer layer of foil if needed to help prevent leaks.
5. Place them in your preheated oven for 1-1.5 hours. (During this time we had an appetizer of some artichokes that we needed to eat out of our produce drawer. But you could go do laundry, watch some DVR, or stalk facebook during this time.)
6. Preheat grill & prepare wood chips. We have a 3 burner grill. We place the soaked wood chips directly on the grates above the far right burner above Medium-Medium High heat. You will want a bowl of water nearby to control any potential flare-ups of the wood chips. You only need to turn on the burner that is under the wood chips. Close lid to the grill & let it heat & smokify. (Our grill has grates that are made so the chips won’t fall through. You may want to investigate a wood chip box, or improvise with a perforated piece of aluminum foil to make this work on your grill.)
7. Place the rack of ribs on the left side of the grill with the bony side down. The temperature in this zone should be around 250 degrees. Turn your middle burner on low if you need a temperature bump on the left side.
8. Slowly smoke the ribs under indirect heat for 3-4 hours, basting with the “mop sauce” every 30 minutes or so. You do not need to flip the ribs. Add more soaked wood chips to the grill as needed. Cook on grill for 3-4 hours.
9. Carefully remove ribs from the grill. Let rest for 5-10 minutes. Cut into individual portions & serve.
I wish I had a picture of the end result. These ribs were GORGEOUS. Super tender & juicy with a beautiful caramelized exterior. They fell apart in your mouth & were sweet, smoky & spicy all at once. Yum. Since we had already had an appetizer, these were served simply with steamed broccoli.
Cooking method #2
Oven roasting ½ rack of ribs & finished by quick caramelizing on the grill
Approximate cook time: 3 hours in the oven, 0.75-1 hour on the grill, Total of approximately 4 hours (or less if you roast at a higher temperature)
1. Preheat your oven to 350 degrees.*
2. Line a large, rimmed cookie sheet or glass baking pan with a couple of large pieces of foil to wrap your ribs in. I prefer to line up 2 long pieces of foil along their lengths & crease them together to help keep juices in.
3. Put your half slab of pork ribs on top of the foil. Use ¼ of the dry rub mix & rub it into the bony side of the spare ribs. Flip over & repeat for the fattier, meatier side.
4. Spoon approximately 1/2 cup of the “mop sauce” on & around the ribs, being careful not to wash off the rub. You want a paste-like consistency of spices/sauce on the meat.
 |
| Rubbed & Sauced |
6. Place them in your preheated oven for 3 hours. (During this time we left the house & ran errands. Again, the options of laundry, cleaning, DVR’ing & facebook stalking still stand).
 |
| Ready to roast (ignore the 300 on the oven display) |
 |
| All roasted & happy. |
9. Add ribs to grill & mop with sauce every 15 minutes. Cook for 45 minutes until exterior starts to caramelize.

10. While the ribs are cooking, “de-fat” the pan drippings (only if you are making gravy--if not, toss the pan drippings). You do not have to remove ALL of the fat, but you will want to remove most of it.**
 |
| De-fatted pan drippings |
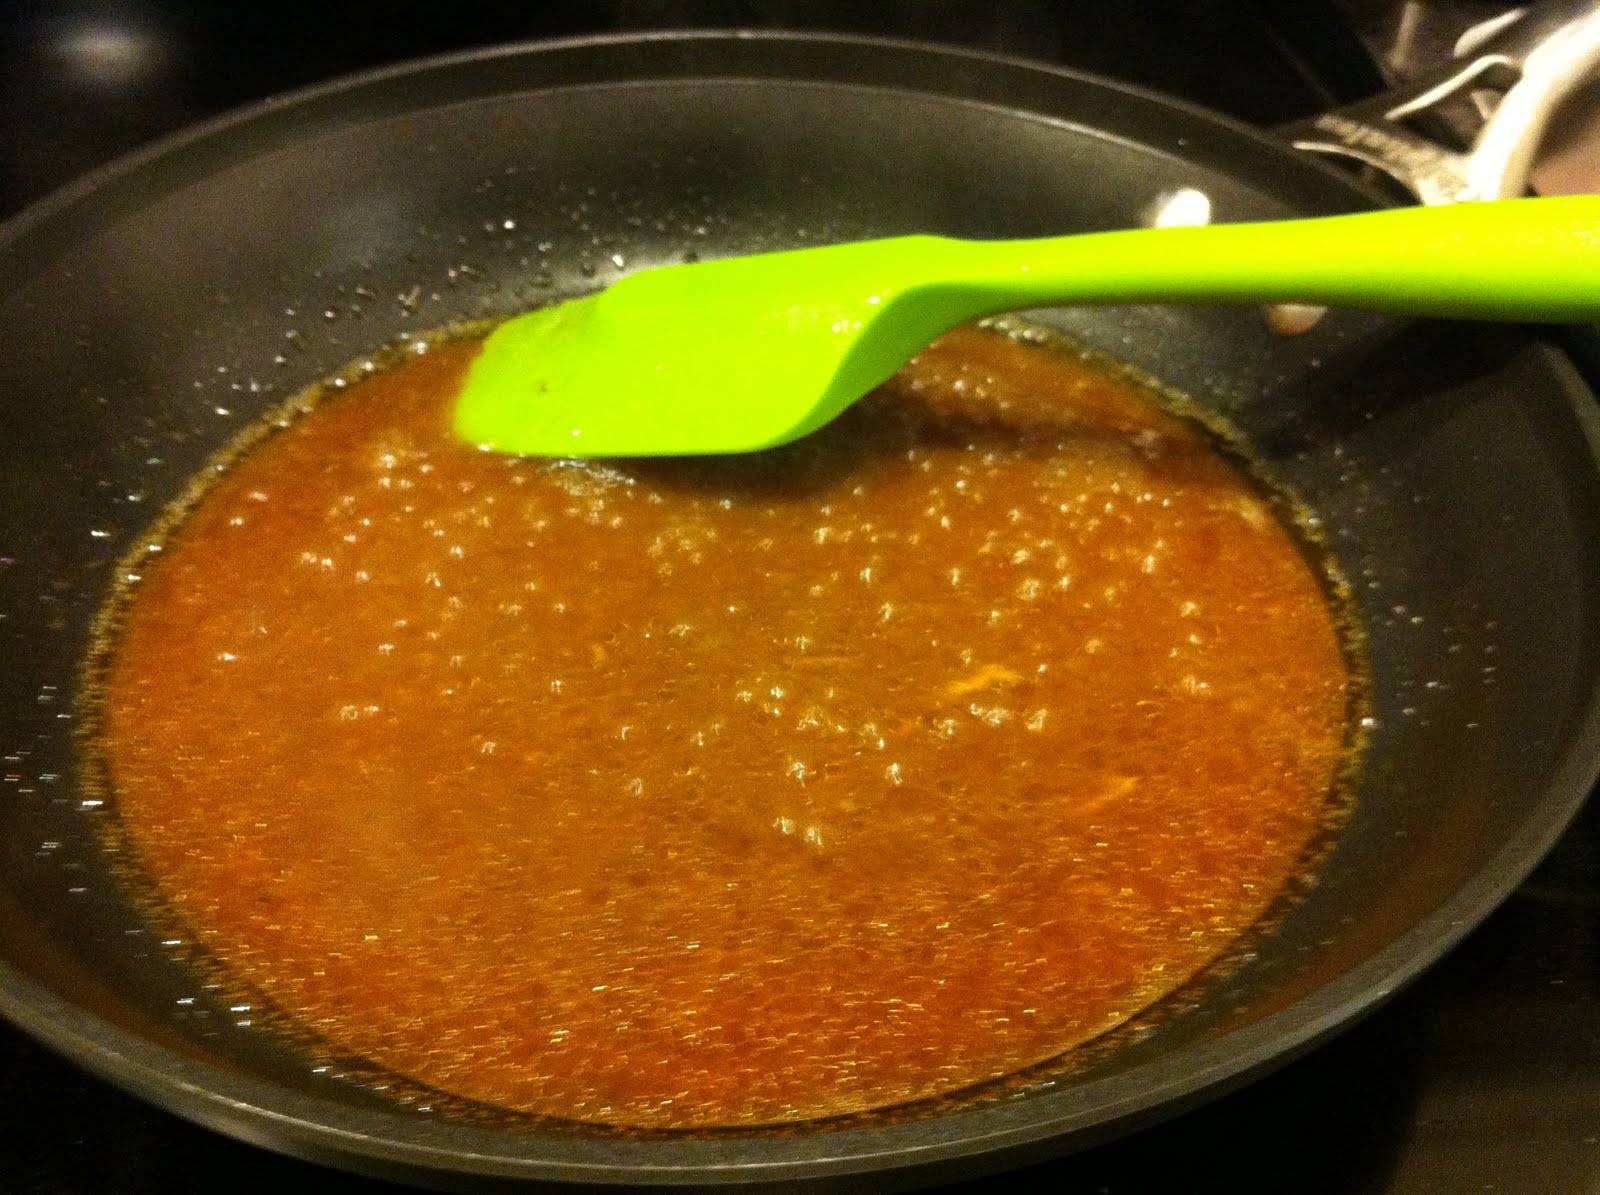 |
| Thickening gravy |

13. Remove gravy from pan & serve.
*You could bump the oven up to 375 or 400 if you want to decrease the amount of time for oven cooking. Since you have tightly sealed the ribs in foil, you are not going to risk scorching the ribs. My standard thing is to knock off 10 minutes of cook time for each 10 degree temperature raise…but this is in no way scientific, or proven. It’s just an instinct that seems to work when roasting meats (would not recommend with baking casseroles, desserts, etc).
** Like me, if you lack one of the specialized liquid measuring cups, you can use a turkey baster or kitchen syringe to remove the layer of oil from the top of the drippings.
 |
| Delicious. Hubs had his with a Bell's Best Brown Ale |
I served these ribs with steamed broccoli, instant baby red mashed potatoes & gravy (My pantry is never out of these potatoes. In a pinch, they are the closest to “from scratch” potatoes that I’ve found when a little butter or milk is added. AND, if you work sale ads & couponing correctly, you can get them for free on occasion).
The Verdict
As far as the flavor profile goes, I preferred the outcome from Cooking Method #1 over Cooking Method #2. The smokiness of the applewood definitely was Ah-mazing & helped give the ribs a deeper, more complete flavor. That being said—Cooking Method #1 takes a lot longer to prepare & requires someone to be by the grill the whole time due to the potential flare-up of the woodchips. There is also the downside that the grill person (my Hubs in this case) has to take a shower before bed due to smelling like an applewood campfire. :-) Cooking Method #2 tasted great as well & could easily be accomplished in an apartment kitchen with the use of the oven & a grill pan. Cooking Method #2 is also more flexible in the time department.
Overall, I will probably play with this recipe again. It was pretty good. If I was going straight for Cooking Method #2, I would infuse more smoky spices (smoked paprika, sweet & hot, & smoked chipotle powder) into the rub & mop sauce to help develop that flavor a little more.
No comments:
Post a Comment