Sunday, May 22, 2011

Garlic-Soy Green Beans

This is a simple, versatile side dish that cooks quickly & is easy to make in bulk for dinners & gatherings. This dish can also be gluten free if you use gluten free soy sauce. Let the green beans get some pan marks while they are cooking. Tonight I served these as a side dish with Citrus Glazed Pork Belly.

Garlic-Soy Green Beans and Citrus Glazed Pork Belly


Garlic-Soy Green Beans
Serves 2-3, Cooking time- 10-15 minutes


Ingredients
Ingredient Lineup (minus the white pepper)

  • 1 T. olive oil
  • 1 t. sesame oil (can use up to 2 t.)
  • 1 bag of whole, frozen green beans (or fresh equivalent-- around 2-3 cups)
  • 0.5 t. ground garlic (or substitute 1-2 cloves of minced fresh garlic)
  • 1/4 t. ground ginger
  • 1/4 t. ground white pepper
  • 2 t. soy sauce
  • [optional] Sliced almonds

Directions
1.  Heat olive oil in a large skillet over Medium-High heat.  When oil is hot, add the sesame oil.

2.  Add the frozen green beans to the pan.  Sprinkle the garlic, ginger & white pepper over the beans.  Toss green beans around in the oil & spice until evenly coated.

Beans & Spices
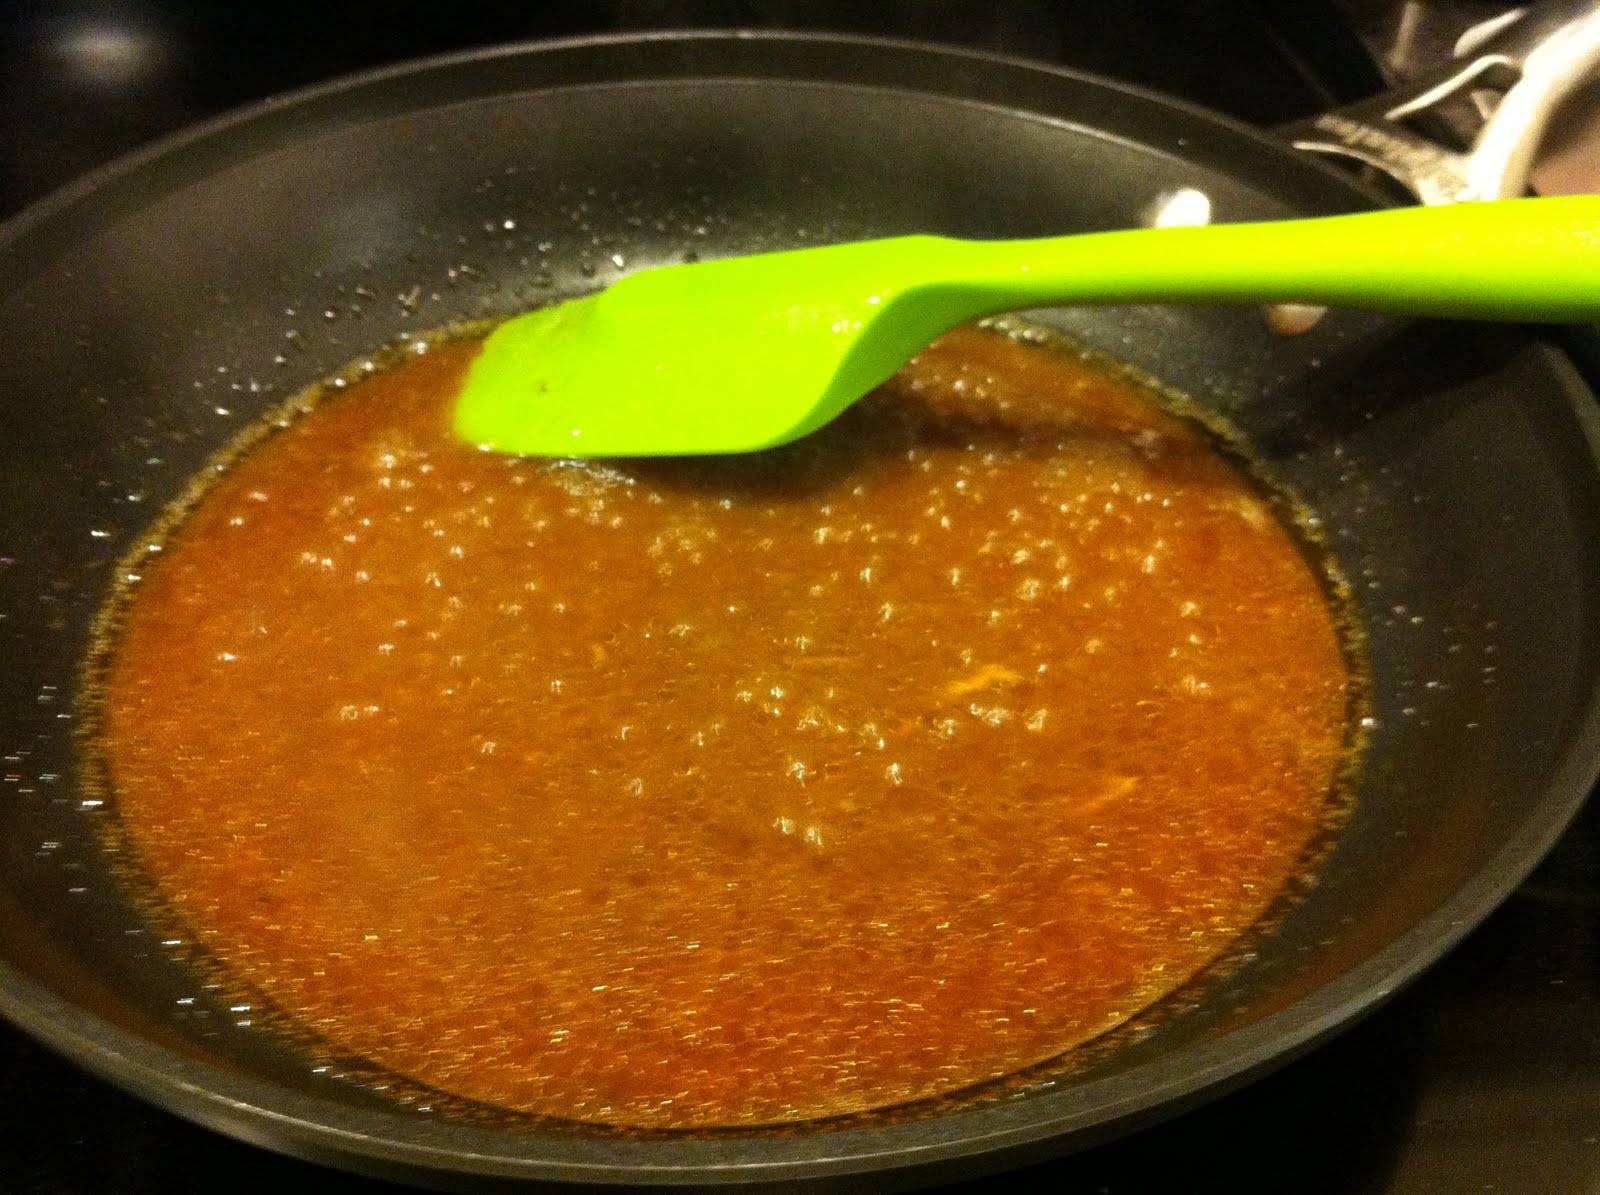
3.  When green beans are almost cooked thoroughly, toss in the soy sauce.  Continue cooking until liquid is reduced.  Pour green beans into serving dish & toss with sliced almonds. 

Korean BBQ Short Ribs

The Hubs made a trip to Saraga earlier this week & picked up some beautiful beef short ribs.  This is the recipe I used for this round of short ribs.  Overall I was pretty happy with the flavor, but next time I use this recipe I will be experimenting with it a little more. We had half of the ribs for dinner tonight with Asian slaw & a very tasty bottle of Malbec. The other half of the ribs are still hanging out in the cooking liquid in the fridge & will be grilled off for a very yummy lunch tomorrow.   


If you don't have access to these style of beef short ribs, you can also substitute thick-sliced beef chuck roast, rib eye (reduce the cooking time), or any other heavily marbled tough cut of beef that you normally need to cook long & slow.  Also, depending on the type of soy sauce you use, this recipe can be made as a gluten-free recipe.  


Korean BBQ Short Ribs (modified from Allrecipes.com submission from user funinthesun) 
Serves 3-4. Actual cooking time 4-6 hours.  8-30 hours including marinating time.

Ingredient Lineup
Ingredients
  • 2-3 pounds short ribs
  • 3/4 c soy sauce
  • 3/4 c water
  • 3 T white vinegar
  • 1/4 c dark brown sugar
  • 1 T ground black pepper
  • 2 T sesame oil
  • 1 garlic bulb- cloves peeled & minced
  • 1 small/medium yellow or white onion, minced
  • 1 t. garlic chili sauce [optional]
  • 1 green onion, chopped [optional]
Directions

1.  Remove short ribs from packaging.  Rinse & rub the individual ribs under cool running water to remove any bone fragments from the butchering process.
Raw ribs, post rinsing.  Do not forget to rinse the short
ribs...otherwise you will end up chewing on bone fragments.

2.  In a large mixing bowl, whisk together all other ingredients (minus the green onion).  Add the ribs to the marinade.  Cover & refrigerate ribs, marinating for 4-24 hours.  (I marinated them for around 14 hours)
Ribs bathing in the marinade, ready for a snooze in
the fridge.

3.  Remove ribs from the refrigerator.  Carefully layer the ribs into a large slow cooker & pour marinade over the ribs. Cook on low for 4-6 hours.  [optional] Carefully turn ribs halfway through the cooking process.

Ribs post marinating overnight.

Ribs in the slow cooker. Halfway done.

4.  Carefully remove the ribs from the cooking liquid.  Some of the bones may fall out of the meat, that is fine.  [Optional] Transfer the ribs to a pre-warmed grill on Medium heat.  Grill for 2-3 minutes per side until meat has grill marks.

Ribs getting some grill marks & caramel'y flavor.

5. Remove ribs from heat.  Plate & garnish with chopped green onion.  
Delicious.

Colorful Asian Slaw

I have a new favorite coleslaw recipe.  I tried this recipe out tonight & it will definitely be prepared for a family reunion or picnic this summer. The dressing from this recipe would also be great for a dipping sauce for crispy tofu, & potentially as a sauce for chicken satay.  I paired this with Korean style BBQ short ribs & they went fabulously together.  I'm looking forward to making another batch of this for lunch tomorrow.

Asian Slaw (modified from a user submission on allrecipes.com)
Serves 3-5
Ingredient Lineup


Ingredients

  • 1 T rice wine vinegar
  • 1 T vegetable oil
  • 2.25 t. creamy peanut butter
  • 1.5 t. soy sauce
  • 1.5 t. brown sugar
  • 1 t. fresh ginger, minced finely
  • 0.75 t. garlic, minced finely
  • 1/2 bag Dole classic coleslaw mix (use approx 7oz of 14oz bag, or substitute around 3.5 cups of chopped green cabbage & julienned carrots)
  • 1/4 head red cabbage
  • 1 green onion, chopped
  • 2 T. fresh cilantro, chopped
1.  In a small bowl, whisk together the vinegar, oil, peanut butter, soy sauce, brown sugar, ginger & garlic.  Set the bowl aside & let the flavors develop. (Note: microwaving the peanut butter for 20-30 seconds makes it easier to whisk into the other ingredients)
Delicious.

2.  Rinse the red cabbage, green onion, & cilantro.  Finely slice the cabbage.  Chop the green onion & salad. Layer the coleslaw mix, red cabbage, green onion & cilantro into a large serving bowl.  Toss together.
Love the colors.

Slaw mixed up & chilling until dinner.

3.  A few minutes before mealtime, pour the coleslaw dressing over the slaw.  Toss until evenly coated.  Serve.
Slaw with dressing.
Asian Slaw with Korean BBQ Short Ribs


Note-- You can also add additional julienned carrots or julienned red peppers for additional color if desired.  Also--depending on the soy sauce & rice wine vinegar you use, this can be a gluten-free recipe.

Friday, May 20, 2011

Get out your Maracas—we’re “going” to Morocco (Moroccan Inspired Baked Chicken)

Wait…what do you mean Maracas are from Latin America?  Oh well…moving on. 

Warning...this post contains graphic photos of raw chicken...

This is a habitual protein dish served in our house, meaning that it is served at least once a month at our dinner table. The spice recipe hangs out on my iPhone & is always at my fingertips.  I came up with this particular blend a couple years ago when trying to find a “perfect for our tastes” ratio…and I’m sure you can probably find 100 more recipes similar to it online.  As a warning, this chicken will be a beautiful color when finished, but the juices will be bright yellow due to the turmeric. If you have accident-prone children (or adults) in your household, you may want to restrict the enjoyment of this dish to a hard floor area instead of over stainable carpet. Also, if you are not a fan of a large amount of spice (not heat, but spices in general), you may want to make a half-batch of the spice blend.  The end result will be a juicy, savory, spicy baked chicken & the skin will have a slightly sticky quality from the spice blend.  Consider serving with Golden Herb Couscous & steamed vegetables.  Is this an authentic Moroccan recipe?--no.  Does this use some of the flavor profiles?--yes.  Hence, the “Moroccan Inspired”…

Moroccan Inspired Baked Chicken, Golden Herb Couscous,
and steamed Brussels sprouts.  
For this week’s preparation of this dish, I used halal chicken leg quarters from our local (and awesome) international grocery, Saraga (this cook LOVES Saraga & misses living 2 miles from it).  We have heard people raving over the past few weeks that the halal chicken & beef from there “just tastes better” & we had to investigate for ourselves.  The last time I talked to a butcher there (almost 2 years ago) he stated that most of their meat came from local sources, so kudos to the Saraga Halal meat counter!   (Whether this is still true or not…no clue.)   

Moroccan Inspired Baked Chicken (An original “I experimented in my spice cabinet” recipe)
Serves 4-8, Prep time- approximately 1 hour, depending on oven temperature & amount of meat
Ingredient Lineup

Ingredients
  • 4-8 pieces of cut-up, bone-in, skin-on chicken pieces*
  • Kosher salt
  • 1 t olive oil + additional as needed
  • 2 t ground cumin
  • 2 t ground paprika**
  • 2 t ground turmeric
  • ¾ t garlic powder
  • ¼ t cayenne***
  • 1 t cinnamon****
Directions
1.  Preheat oven to 350 degrees.  Prepare a large glass baking dish by rubbing the olive oil on the interior cooking surfaces of the dish.  Use more if needed.

2.  Remove chicken from packaging.  Rinse the chicken under cool tap water, drain thoroughly, & pat dry with paper towels.  Sprinkle lightly with kosher salt.  Use your fingers to gently separate the chicken skin from the meat (not 100% separating, you still want to leave it “tacked down” in places).  Try your best not to tear the skin (the end product is prettier…:-) ).  This allows the skin to become crispier when baking, instead of limp/soggy, yet won’t cause excess juice to leak out of the meat.  If you want it super crispy when baked (relative to standard baked chicken), raise up the skin & poke it with a fork in multiple spots, being careful NOT to stab the meat underneath.  Set the chicken aside and wash your hands & any infected kitchen surfaces thoroughly.
Loosen skin on chicken pieces
Carefully poke holes in skin with fork (optional)
3.  In a small bowl mix the cumin, paprika, turmeric, garlic, cayenne & cinnamon.  Liberally coat the chicken in the spice mixture.  My usual method is to put the chicken in a plastic bag, pour the spice blend around the chicken in the bag, seal it, shake & rub the chicken until it is all thoroughly coated in the spices.  If you do not plan on eating the skin, you can also slip some of the spices under the skin & rub them in to help infuse the meat with more flavor.
Colorful spice palette 
Mixed up spices

Spicy, homemade version of "shake & bake"
Spiced & ready to bake
4.    Place the chicken meaty-side-up (bony side down) in the baking dish.  Bake for 50-60 minutes until internal temperature of the chicken reaches around 165 degrees & the juices run clear.  30 minutes into cooking, check the chicken.  If it is swimming in a lot of fat/juices, consider removing the juice with a turkey baster & transferring it to a disposable container or the sink.  This will keep your chicken from boiling while baking. This can also be avoided by using a baking rack in the dish. 


Chicken after hanging out in the oven for 60 minutes
5.  When the internal temperature reaches 165 degrees, turn your oven onto a low broil.  Broil the chicken for 5-10 minutes until skin is crispier.


Post broiling.  I accidentally broiled slightly
longer than I normally would.  But the taste
was fine.  

6.  Remove chicken from oven.  Set sit for 5-10 minutes & serve. 

*We prefer dark meat for baking, & we used 3 chicken leg quarters this time around.  Frequently, I’ll buy chicken thighs when they are on sale & cook those. But depending on price/# it may be more economical to buy a whole roaster/fryer & hack it up yourself.
** I use 1 t ground smoked sweet paprika & 1 t ground smoked hot paprika.

***I sometimes bump this up to ½ t of cayenne.  We like spicy foods, so we buy a super-spicy version of cayenne from the international market…if you like spicy foods, but have a tamer cayenne, or cayenne that has been hanging out in your spice cabinet for a few years, you may want to consider bumping up to ½ t of cayenne too.

****As stated in an earlier post, for recipes like this I prefer China Tung Hing cinnamon, but you can use whatever you have in your spice cabinet.  In my opinion, this particular variety adds to, but does not overpower savory dishes.      

Couscous Ca-Choo! (Golden herb couscous)

Traditional couscous is something we always have in our pantry.  It is the most frequent type of pasta that we cook (we’re not big wheat noodle fans) & is incredibly versatile for meal planning.  Plus, it cooks quickly…yay!  

Golden Herb Couscous, Moroccan Inspired Baked Chicken,
& Steamed Brussels Sprouts
The following recipe is a staple in my cooking arsenal. It’s a quick, flavorful side dish that pairs well with poultry.  Although I cook it regularly, I’ve always cooked it by “feel & taste” instead of “measurements” for the spices, so coming up with the approximate measuring amounts for a “palm-full” has been a fun challenge for me.  But this does mean that if you are lacking an ingredient listed, it gives you more room to play & improvise with the recipe.  Typically we buy the Rice Select brand couscous because it’s available at all of the groceries here, but whatever brand of plain, small-grain couscous prefer will work for this dish.  This recipe gets its beautiful yellow coloring from the turmeric.  I suggest serving this with Moroccan Inspired Baked Chicken and steamed vegetables.

Golden herb couscous (original “I experimented in the spice cabinet” recipe):
Serves 3-5

The Ingredient Lineup
Ingredients
  • 1- 12oz can of low sodium chicken broth or stock (or vegetable broth for non-meat eaters)
  • 1 chicken bullion cube or equivalent in chicken stock paste [optional—if you add this, you should not need extra salt]
  • 1 T lemon juice
  • 2 t. dried basil
  • 1 t. dried oregano
  • 3/4 t. garlic powder
  • 1/2 t. ground turmeric
  • 1/4 t. onion powder
  • 1/4 t. ground black pepper
  • 1 cup dried couscous
  • 1-4 T water, as needed
  • Salt, to taste
  • Powdered sumac for garnish [optional]*
 Directions
1.  In a medium microwavable mixing bowl, add the chicken broth, bullion, lemon juice & spices, excluding the salt & sumac.  Stir.  Microwave the mixture for 2-3 minutes until boiling (dependant on individual microwave strength).  Let mixture sit & develop flavor until 10 minutes before meal time (I normally let it have a party on the counter for about 20 minutes before finishing the dish).
Dry ingredients (minus couscous)
2.  10 minutes before serving the meal, return the mixing bowl back to microwave.  Heat until boiling.  Carefully remove bowl from microwave & stir in the dried couscous.  Cover the bowl & let it sit on your counter for 4-5 minutes.

3.  Remove the cover from the bowl & fluff couscous with a fork.  Taste a small sample of the couscous and check for 1) To make sure the couscous is soft, yet still a little firm [but not chewy] & 2) To make sure the salt level is ok.  If your couscous feels chewy, stir in 1-3 Tablespoons of water & return to the microwave for 30 second to 1 minute.  Let couscous sit one minute, fluff with fork, & recheck.

4.  Move finished couscous to a serving bowl.  Sprinkle the top with ground sumac, and serve.

Golden Herb Couscous
*A note on powdered sumac- First of all, this spice is not made from poison sumac, so set that worry aside.  I love garnishing with powdered sumac & I especially love adding it to couscous dishes & hummus.  It is a beautiful purplish color when plated and has a tart, tangy flavor similar to lemon, yet slightly flowery.  

Thursday, May 19, 2011

Needle Craft Envy

Confession time.  

For years I have been envious of those who have knitting & crochet skills. Maybe not just "envious," but truly jealous.  It seems like it should be such a relaxing & worthwhile hobby.  I went to college with several women who had mad crocheting skills.  They could sit down, watch whatever the "show of the day" was with a group of people, gab along with everyone else, & crank out a gorgeous, intricate scarf during the process. Amazing.  I have a friend from high school that can knit her own socks.  I repeat...she. makes. her. own. socks. I would love to have that kind of "survival" skill.

I can remember my mom attempting to teach me to crochet on a few occasions when I was growing up.  She would teach me the chain stitch, how to build off of it, & then would let me try to make a scarf or small blanket.  My endeavors normally ended up with her sitting back & shaking her head as my stitches got tighter & tighter, until the point I could no longer get my needle through the piece. Apparently I had tension issues...

I have tried learning to knit on 2 occasions--once in high school & one summer during college. I would finally get the length of a scarf made by knitting & purling, it would be lopsided in parts due to dropped stitches, and then it would end up unraveling because I couldn't figure out how to bind it off.  (Plus--it's really fun to unravel knitting...counterproductive?  Yes...but still fun.) Eventually I would give up, shove the yarn & needles in a bag, & say "I'll try that again one day."
Over the past few years, my Needle Craft Envy has grown. There are so many fun/hilarious knit & crochet projects that you can do...

Like these Crochet beard hats
Hilarity. Work by taraduff on etsy.com

or this ADORABLE baby apple hat
Work by myknittingworld on etsy.com


or this AWESOME owl hat that I want in my size.
Work by beckysbabycrochet on etsy.com

Most evenings, the Hubs & I like to sit back & watch TV before bed.  I have this problem that I can't JUST watch TV--I have to play on my laptop, play stupid games on my iPhone, fold laundry, read, etc...meaning that I could possibly have some form of adult ADD.  I frequently wish my "multitasking" during this time was doing something more productive. So I have made it my mission to actually learn how to knit, & eventually learn how to crochet.  Will I be able to make amazingly fun things like above?--probably not.  Will I try my best?--yes. 

Last weekend I ventured to Jo-Ann's & bought a skein of yarn and some knitting needles.  I didn't want to buy any fancy "organically raised, house-pet, insert-Latin-sound-name-type-of-wool here" for my first practice run in 7 years...so I settled for a fairly inexpensive acrylic skein in my favorite color of green from LionBrand yarn.  I'm a little ashamed to admit that this yarn was part of the "Vanna's Choice" line...as in Wheel of Fortune's Vanna White.  Seriously, she endorses yarn. Perhaps she is a master knitter?  Or maybe she just likes to gesture enthusiastically towards skeins of yarn in her free time? Either way, the price was right & I liked the color.
I'll take a "Y" for Yarn, please?


Personally, I'm not a huge fan of the yarn.  I'd forgotten how icky acrylic yarn can feel.  Once I master some skillz, I will probably move away from acrylic.  In addition to the icky feel, the strands separate quite a bit & that can be a little frustrating since I'm trying to learn to stitch without looking. I also casted on WAY too many starter stitches, so this is going to be one BIG, chunky scarf.  But that's ok, I'm more worried about practicing & building up my ability to knit while watching tv. :-P

This is my progress so far...

It's going to be one HUGE scarf...
I'm still Reallllly slow at this...but I have faith that I will get there.  I plan to do an additional post about what web resources I am finding helpful during this learning process, in case anyone else is interested.  Who knows, there might be one extremely large, chunky, potentially lopsided green scarf up for grabs to some lucky reader (or family member) sometime in the next couple months?... if I ever figure out how to bind-off while knitting...hmm.

I fully welcome & seek out all tips & suggestions from seasoned knitters (& crocheters, I'll get there eventually)!!  

"Finish me!"

2 dinners in 2 different ways from 1 recipe & 1 rack of spareribs

I love buying pork spareribs when they are on sale.  They are rich, flavorful, and perfect for "prep it and forget it" cooking (i.e. slow cooking in the oven, smoker, or in a crock pot).  Plus, 1 rack of spareribs is easily 2-4 meals for our family of 2, which averages <$1.50 for each protein serving...not too shabby.  I am always looking for new ways to cook spareribs.  I have a few standard go-to recipes, but I always like to try out new ones.

This week I tried the recipe "Not Your Everyday Smoked Pork Spare Ribs" posted by user Tanlor on Allrecipes.com.  My version of the recipe is listed below, with 2 different preparation methods. The first method utilizes both the oven and a grill/smoker.  The second method utilizes the oven & a grill, but a stovetop grill pan could be substituted for those who do not have grill access.  I had to make some minor ingredient changes (details below), & I altered the cooking methods to fit our time schedule since these were cooked on workdays. We didn’t have 5 hours to sit around & watch the grill/smoker do its magic from start to finish, unless we wanted to eat dinner at 11:00pm. As an additional note, this recipe makes MORE than enough for 1 rack of ribs.  If I was prepping this all at once for cooking only 1 rack of ribs, I would probably cut this recipe in half. There are pictures for the 2nd method of cooking, but I neglected to take pictures Monday night for the first method.

Ingredients
Dry Rub Ingredient Lineup
 Dry Rub
  • ½ cup packed brown sugar
  • 2 T chili powder*
  • 1 T paprika**
  • 1 T ground black pepper
  • 2 T garlic powder
  • 2 t onion powder
  • 2 t kosher salt
  • 2 t ground cumin
  • 1 t ground cinnamon***

1.  In a small mixing bowl assemble all ingredients.  Set aside.

*We don’t buy chili powder (& we rarely buy any manufactured spice blends…that's just an unnecessary trip to "Salt Lick City" & the spices are rarely fresh).  Normally I make it in small batches as needed, & put the extra in a recycled spice jar in the pantry.  We happened to be out of homemade chili powder at the point this recipe was assembled by my awesome husband…so the recipe was improvised with some extra cumin, paprika, garlic salt & added cayenne pepper to equal 2 T…still tasted pretty darn tasty. :-) )


** For the paprika—if you are going to be smoking the ribs, use a standard sweet paprika.  If you are not going to be smoking the ribs, use a smoked sweet or hot paprika if you have that available in your pantry.


***If you’re a nut like me who has MULTIPLE versions of cinnamon in their pantry, I prefer a milder, sweeter cinnamon in these types of recipes…like China Tung Hing .)


Assembled Dry Rub


“Mop Sauce”
Mop Sauce ingredient lineup

  • 1 c apple cider*
  • ¾ c apple cider vinegar
  • 1 T onion powder
  • 1 T garlic powder
  • 2 T lemon juice
  • 3 T hot sauce (Louisiana)

1. In a small mixing bowl or liquid measuring cup, whisk all ingredients together.  Set aside.

*Instead of cider, I used Knudson organic apple juice, which has a large amount of apple solids & tastes more like cider than juices like Motts. It's my favorite apple juice/apple cider to cook with.  


Some leftover mop sauce
Additional Equipment
  • (optional) 2 cups wood chips soaked in water, i.e. Applewood, & the ability to cook with them

Cooking method #1
Oven roasting ½ rack of ribs & finished by low-temp, indirect heating & smoking on the grill
Approximate cook time: 1-1.5 hours in the oven, 3-4 hours on the grill, Total of 4-5.5 hours.  (This would be better prepared on a weekend in retrospect…than the 9:00pm dinner we had on Monday)


1.  Preheat your oven to somewhere in the range of 325-375.  Honestly, the temperature doesn’t matter that much for this recipe (I think my Hubs chose 360 at random since he started the prep work on this one for me since I was still stuck in commuting traffic).  If you need a definitive statement for what to set your oven at, go with 350 degrees.

2.  Line a large, rimmed cookie sheet or glass baking pan with a couple of large pieces of foil to wrap your ribs in.  I prefer to line up 2 long pieces of foil along their lengths & crease them together to help keep juices in.  You will want a pan that has a lip/rim on it in case your foil packet leaks.

3. Put your half slab of pork ribs on top of the foil.  Use ¼ of the dry rub mix & rub it into the bony side of the spare ribs.  Flip over & repeat for the fattier, meatier side.

4. Seal the ribs tightly in foil, adding an additional outer layer of foil if needed to help prevent leaks.

5. Place them in your preheated oven for 1-1.5 hours.  (During this time we had an appetizer of some artichokes that we needed to eat out of our produce drawer.  But you could go do laundry, watch some DVR, or stalk facebook during this time.)

6. Preheat grill & prepare wood chips.  We have a 3 burner grill.  We place the soaked wood chips directly on the grates above the far right burner above Medium-Medium High heat.  You will want a bowl of water nearby to control any potential flare-ups of the wood chips.  You only need to turn on the burner that is under the wood chips.  Close lid to the grill & let it heat & smokify. (Our grill has grates that are made so the chips won’t fall through.  You may want to investigate a wood chip box, or improvise with a perforated piece of aluminum foil to make this work on your grill.)

7.  Place the rack of ribs on the left side of the grill with the bony side down.  The temperature in this zone should be around 250 degrees.  Turn your middle burner on low if you need a temperature bump on the left side.

8.  Slowly smoke the ribs under indirect heat for 3-4 hours, basting with the “mop sauce” every 30 minutes or so. You do not need to flip the ribs.  Add more soaked wood chips to the grill as needed. Cook on grill for 3-4 hours.

9. Carefully remove ribs from the grill.  Let rest for 5-10 minutes.  Cut into individual portions & serve.

I wish I had a picture of the end result.  These ribs were GORGEOUS.  Super tender & juicy with a beautiful caramelized exterior.  They fell apart in your mouth & were sweet, smoky & spicy all at once.  Yum. Since we had already had an appetizer, these were served simply with steamed broccoli.

Cooking method #2
Oven roasting ½ rack of ribs & finished by quick caramelizing on the grill
Approximate cook time: 3 hours in the oven, 0.75-1 hour on the grill, Total of approximately 4 hours (or less if you roast at a higher temperature)

1.  Preheat your oven to 350 degrees.*


2.  Line a large, rimmed cookie sheet or glass baking pan with a couple of large pieces of foil to wrap your ribs in.  I prefer to line up 2 long pieces of foil along their lengths & crease them together to help keep juices in.


3. Put your half slab of pork ribs on top of the foil.  Use ¼ of the dry rub mix & rub it into the bony side of the spare ribs.  Flip over & repeat for the fattier, meatier side.

4.  Spoon approximately 1/2 cup of the “mop sauce” on & around the ribs, being careful not to wash off the rub.  You want a paste-like consistency of spices/sauce on the meat.
Rubbed & Sauced
5.  Seal the ribs tightly in foil, adding an additional outer layer of foil if needed to help prevent leaks.


6. Place them in your preheated oven for 3 hours.  (During this time we left the house & ran errands.  Again, the options of laundry, cleaning, DVR’ing & facebook stalking still stand).


Ready to roast (ignore the 300 on the oven display)
7.  Remove ribs from oven & carefully remove the ribs from the foil packet.  Save the drippings.  These drippings can be used to make a delicious gravy (optional). 
All roasted & happy.
8.  Preheat grill to Medium heat.


9.  Add ribs to grill & mop with sauce every 15 minutes.  Cook for 45 minutes until exterior starts to caramelize.


10.  While the ribs are cooking, “de-fat” the pan drippings (only if you are making gravy--if not, toss the pan drippings). You do not have to remove ALL of the fat, but you will want to remove most of it.**


De-fatted pan drippings
11.  Add the pan drippings to a small sauce pan or skillet & heat over medium heat until a thickened gravy forms.  If you are in a time-crunch, feel free to thicken the gravy with a cornstarch or arrowroot slurry (cornstarch/arrowroot + a little water mixed together.  Never put straight cornstarch into a hot liquid.  You will get nasty, slimy lumps).  
Thickening gravy
12. Remove ribs from the grill & let sit for 5-10 minutes. Cut ribs into serving portions.


13. Remove gravy from pan & serve.

*You could bump the oven up to 375 or 400 if you want to decrease the amount of time for oven cooking.  Since you have tightly sealed the ribs in foil, you are not going to risk scorching the ribs.  My standard thing is to knock off 10 minutes of cook time for each 10 degree temperature raise…but this is in no way scientific, or proven.  It’s just an instinct that seems to work when roasting meats (would not recommend with baking casseroles, desserts, etc).


** Like me, if you lack one of the specialized liquid measuring cups, you can use a turkey baster or kitchen syringe to remove the layer of oil from the top of the drippings.    


Delicious. Hubs had his with a Bell's Best Brown Ale

I served these ribs with steamed broccoli, instant baby red mashed potatoes & gravy (My pantry is never out of these potatoes. In a pinch, they are the closest to “from scratch” potatoes that I’ve found when a little butter or milk is added.  AND, if you work sale ads & couponing correctly, you can get them for free on occasion).  

The Verdict
As far as the flavor profile goes, I preferred the outcome from Cooking Method #1 over Cooking Method #2.  The smokiness of the applewood definitely was Ah-mazing & helped give the ribs a deeper, more complete flavor.  That being said—Cooking Method #1 takes a lot longer to prepare & requires someone to be by the grill the whole time due to the potential flare-up of the woodchips.  There is also the downside that the grill person (my Hubs in this case) has to take a shower before bed due to smelling like an applewood campfire. :-)  Cooking Method #2 tasted great as well & could easily be accomplished in an apartment kitchen with the use of the oven & a grill pan.  Cooking Method #2 is also more flexible in the time department.

Overall, I will probably play with this recipe again. It was pretty good. If I was going straight for Cooking Method #2, I would infuse more smoky spices (smoked paprika, sweet & hot, & smoked chipotle powder) into the rub & mop sauce to help develop that flavor a little more.